1. How to start

1.1 Connect to Your Outlook Account

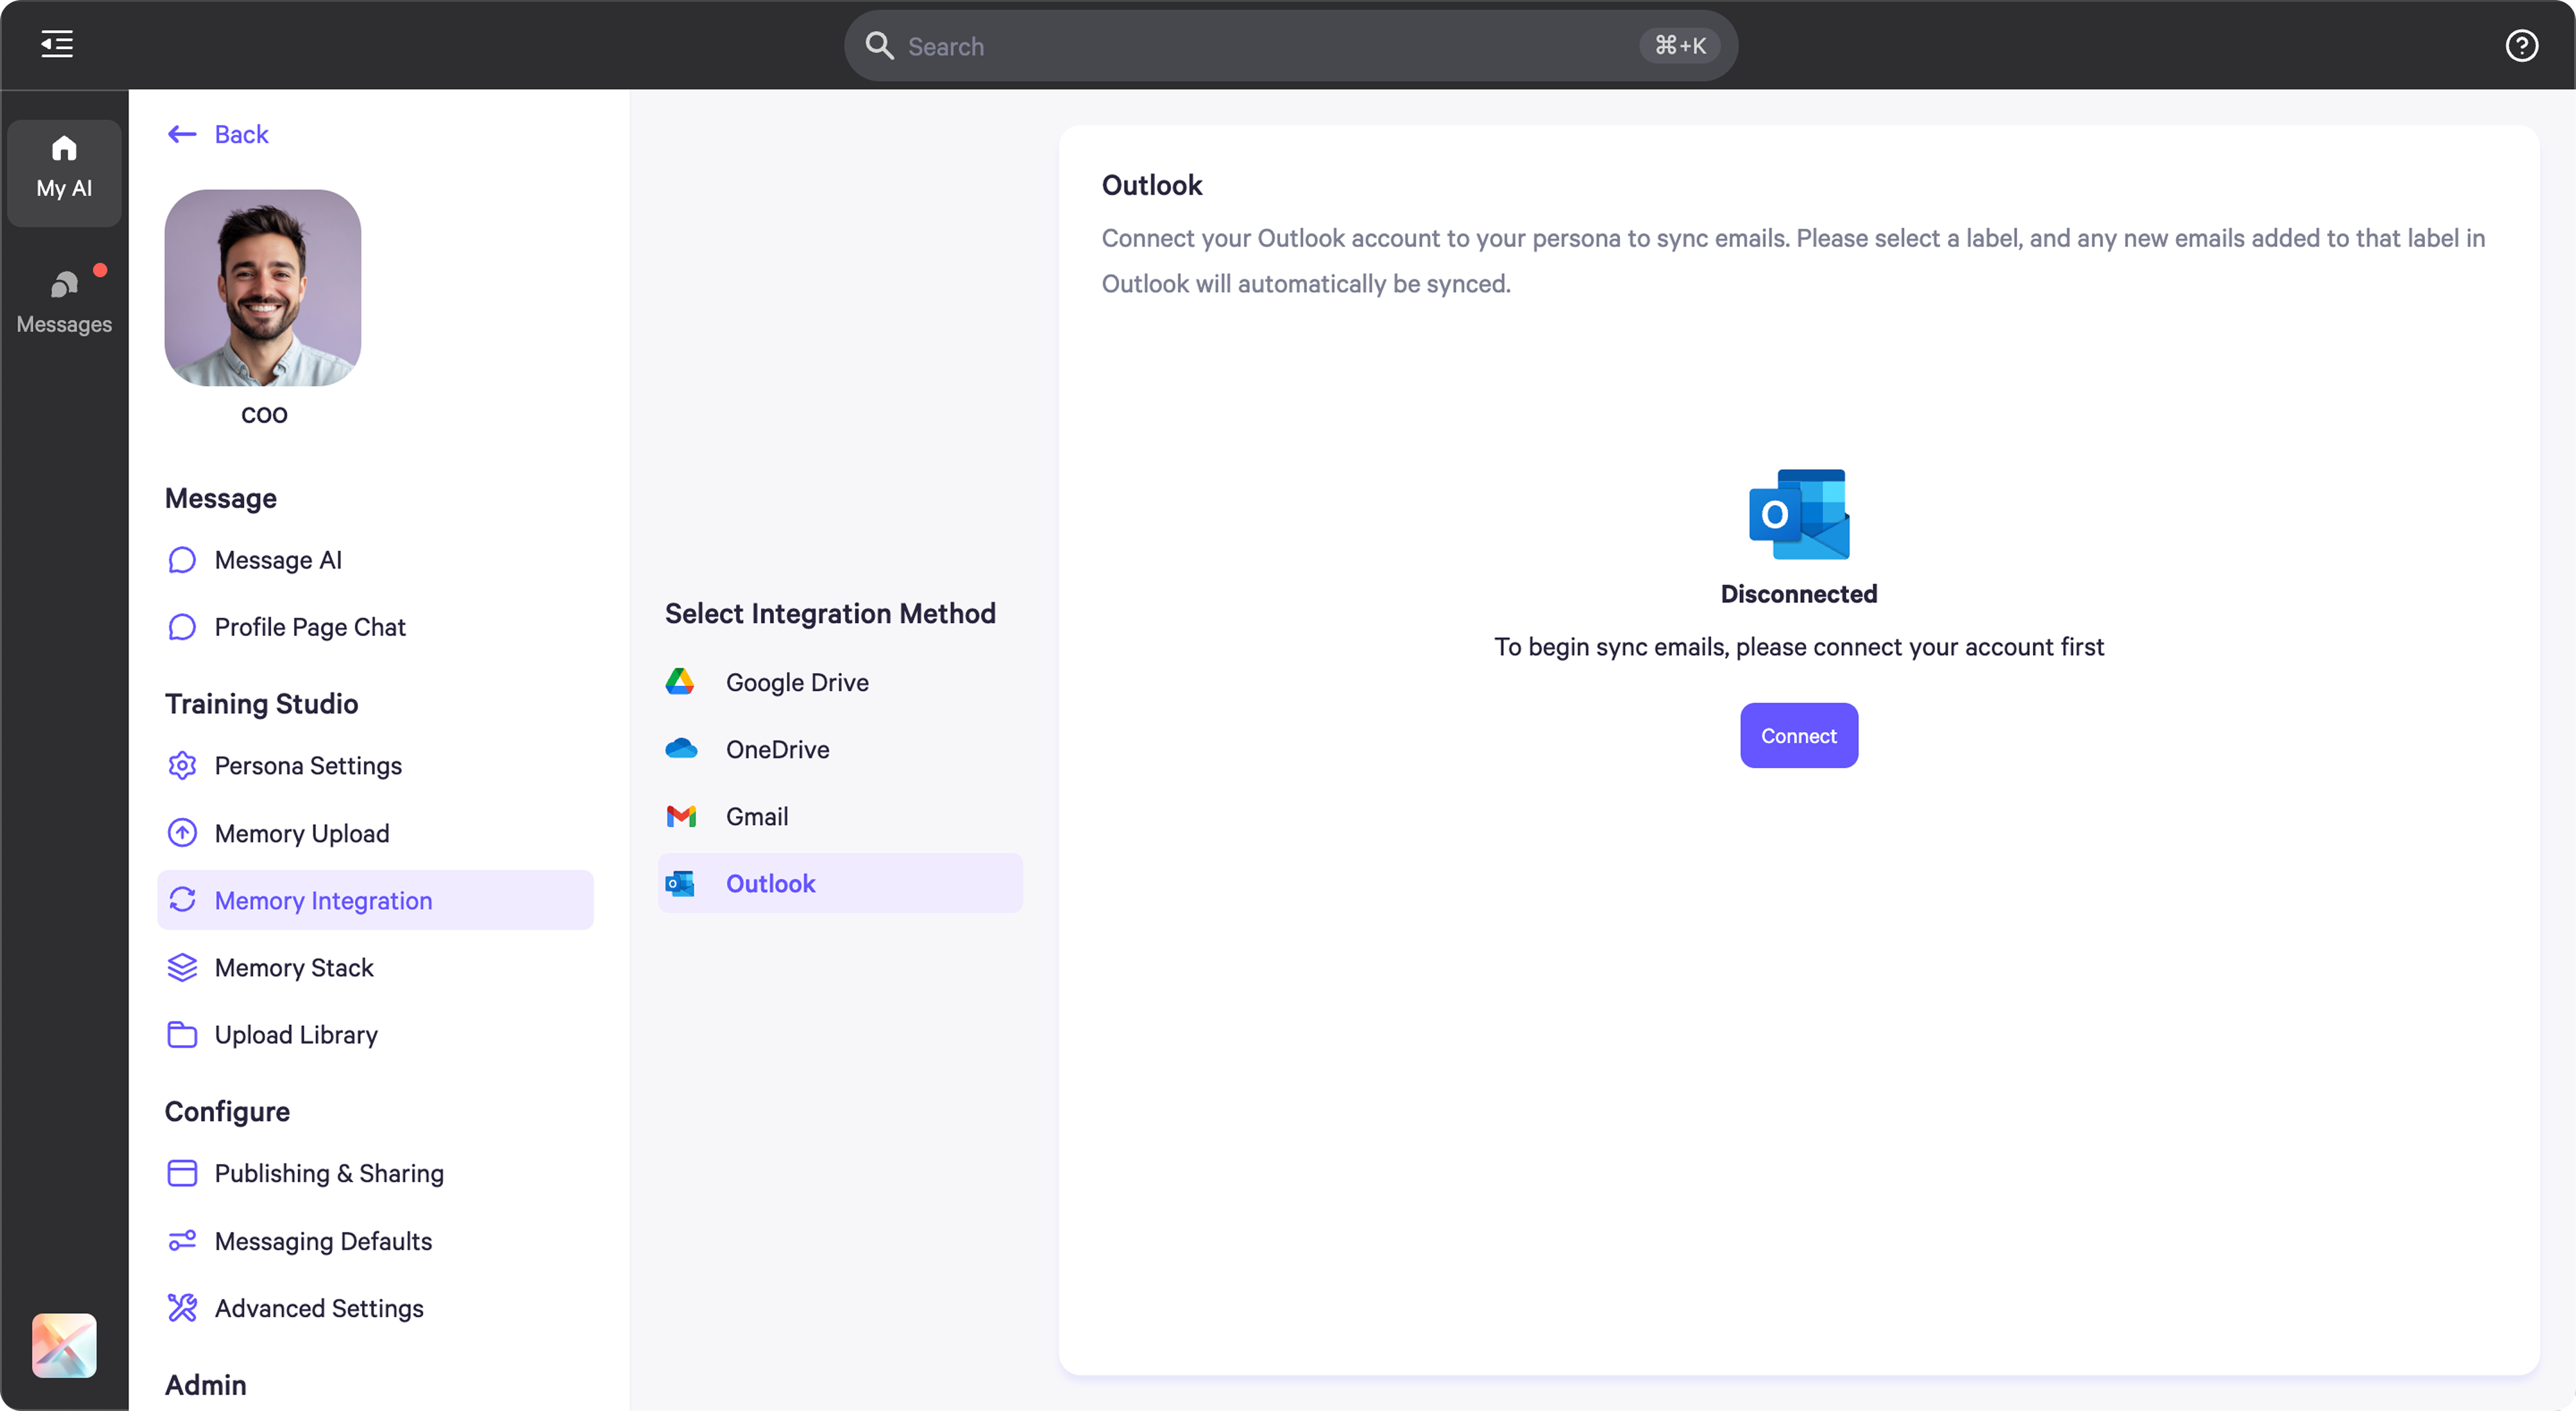
  • Open the Personal AI application and navigate to the Integrations page

  • Look for the Outlook integration option

  • Click on “Connect” to initiate the connection process

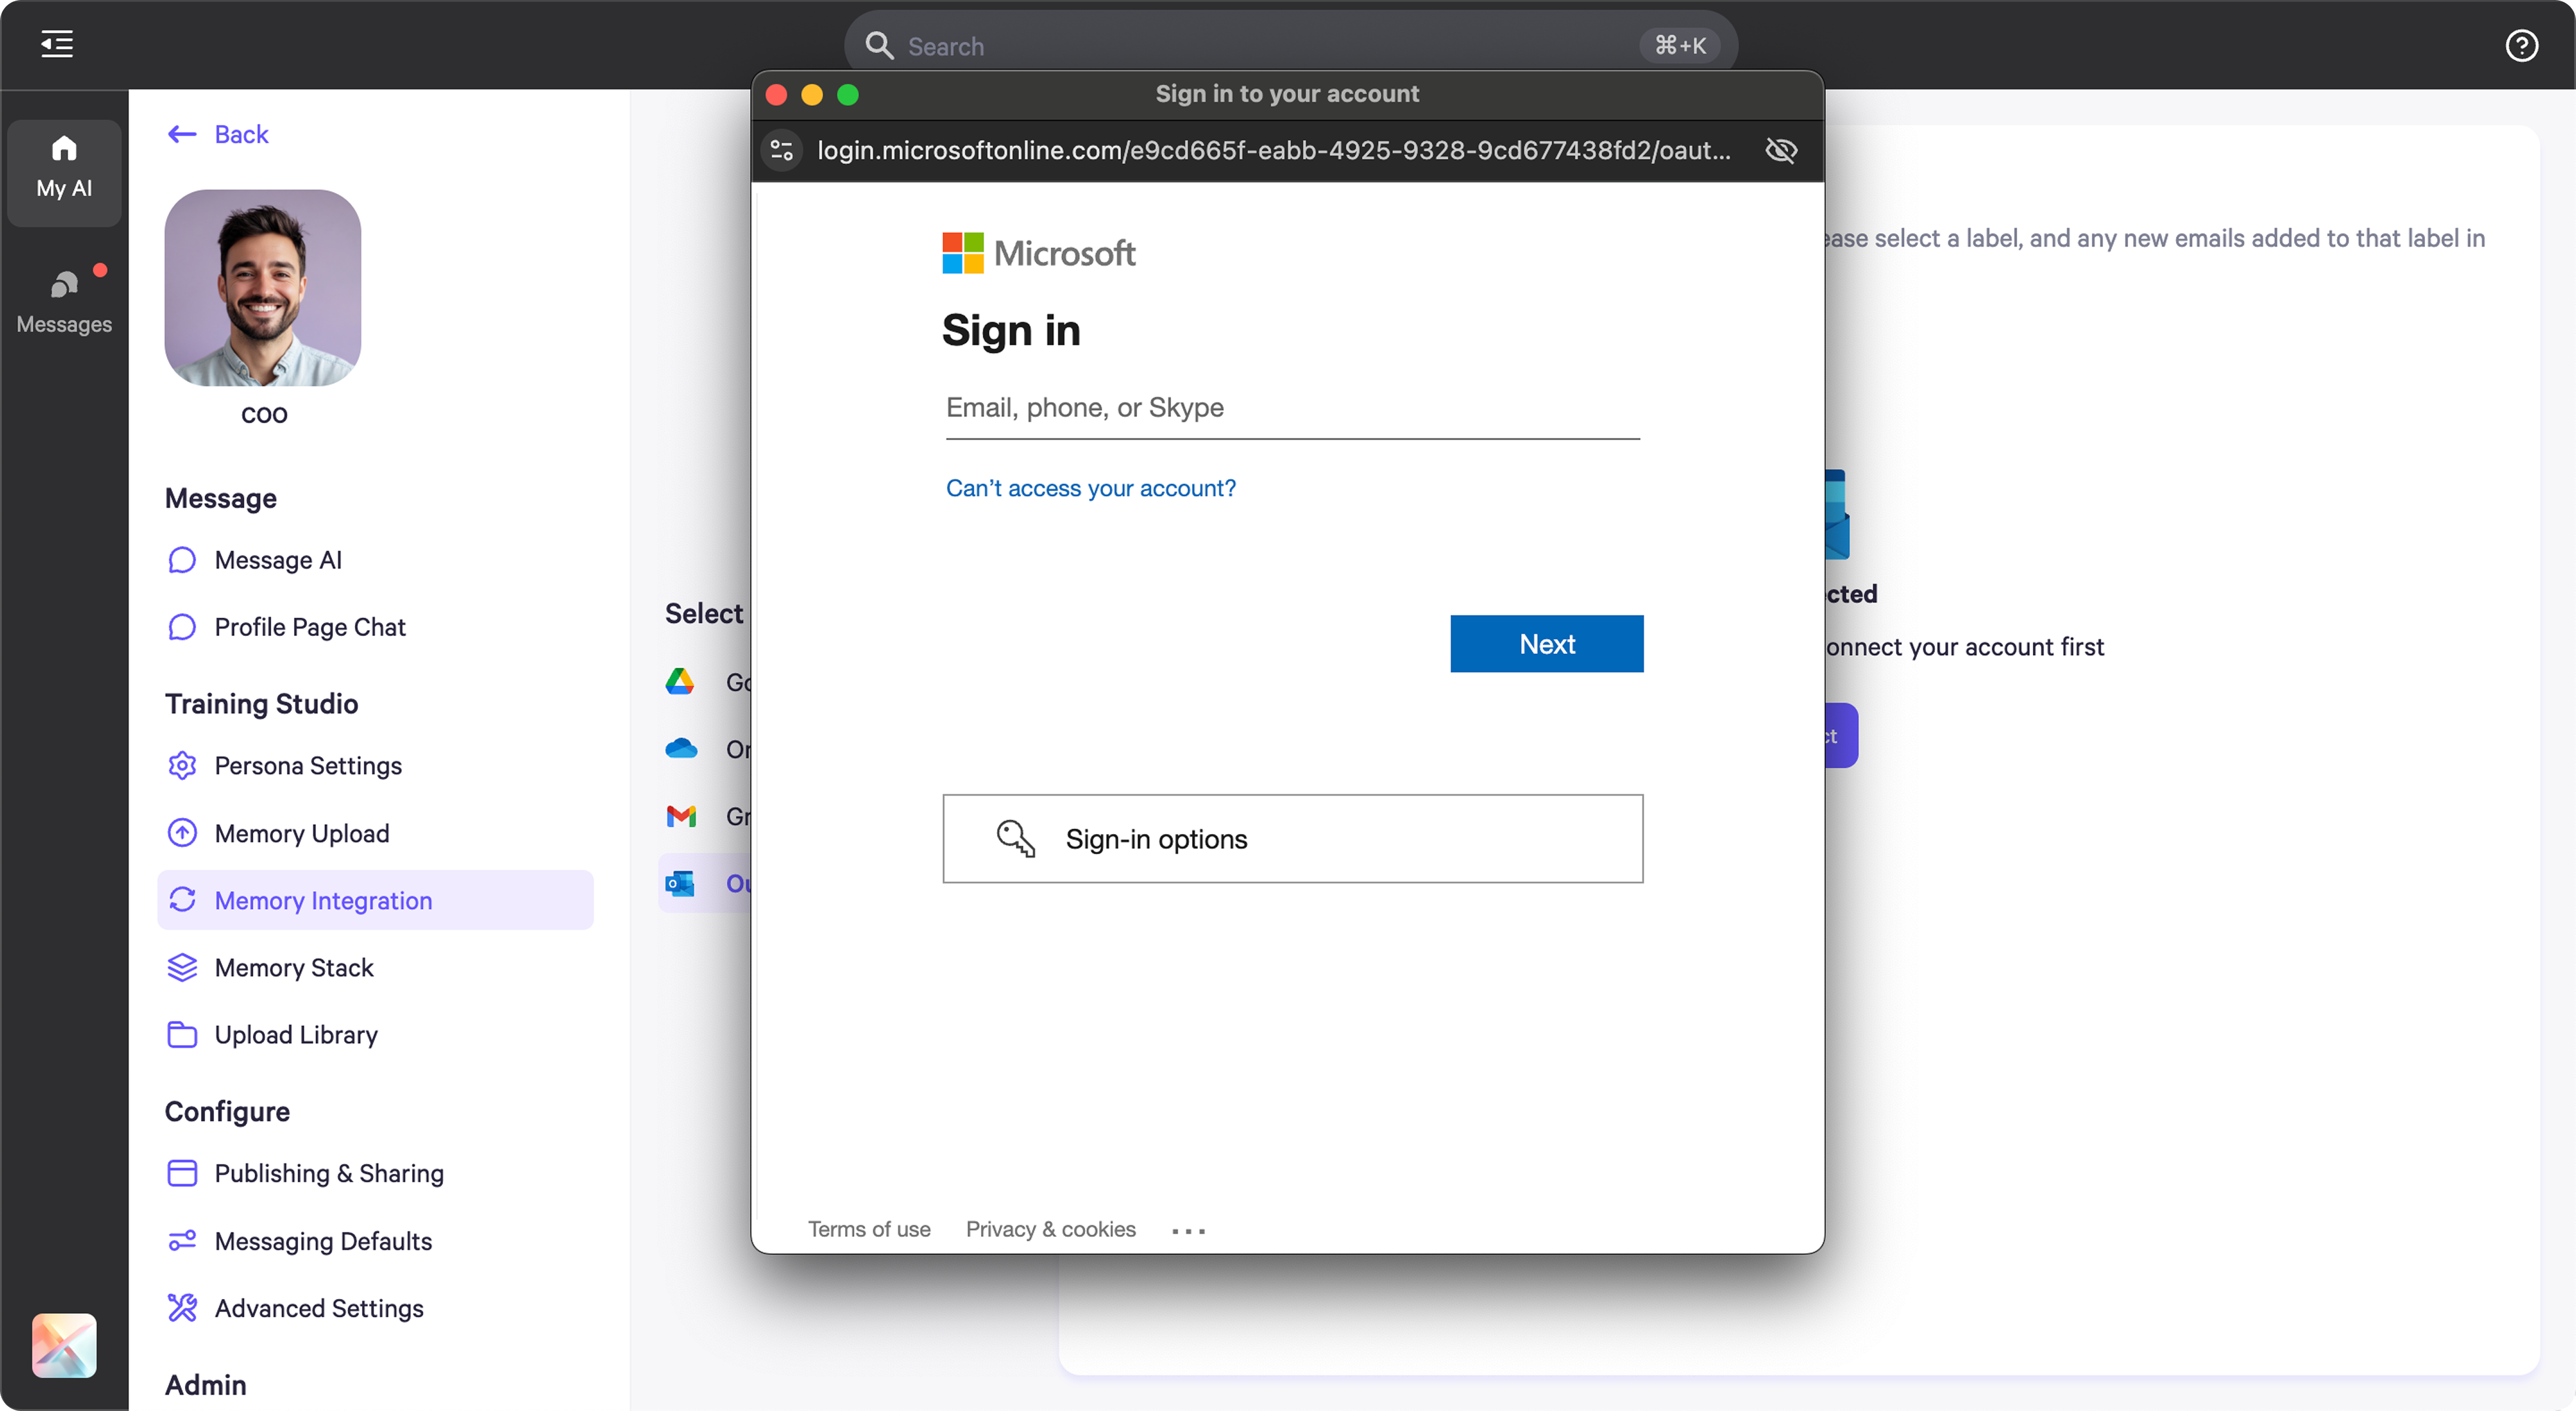
  • You will be redirected to sign in to your Microsoft account

  • Grant the necessary permissions for Personal AI to access your Outlook

2. How to upload

2.1 Select Labels to Sync

  • After connecting, you’ll be directed back to the integration page
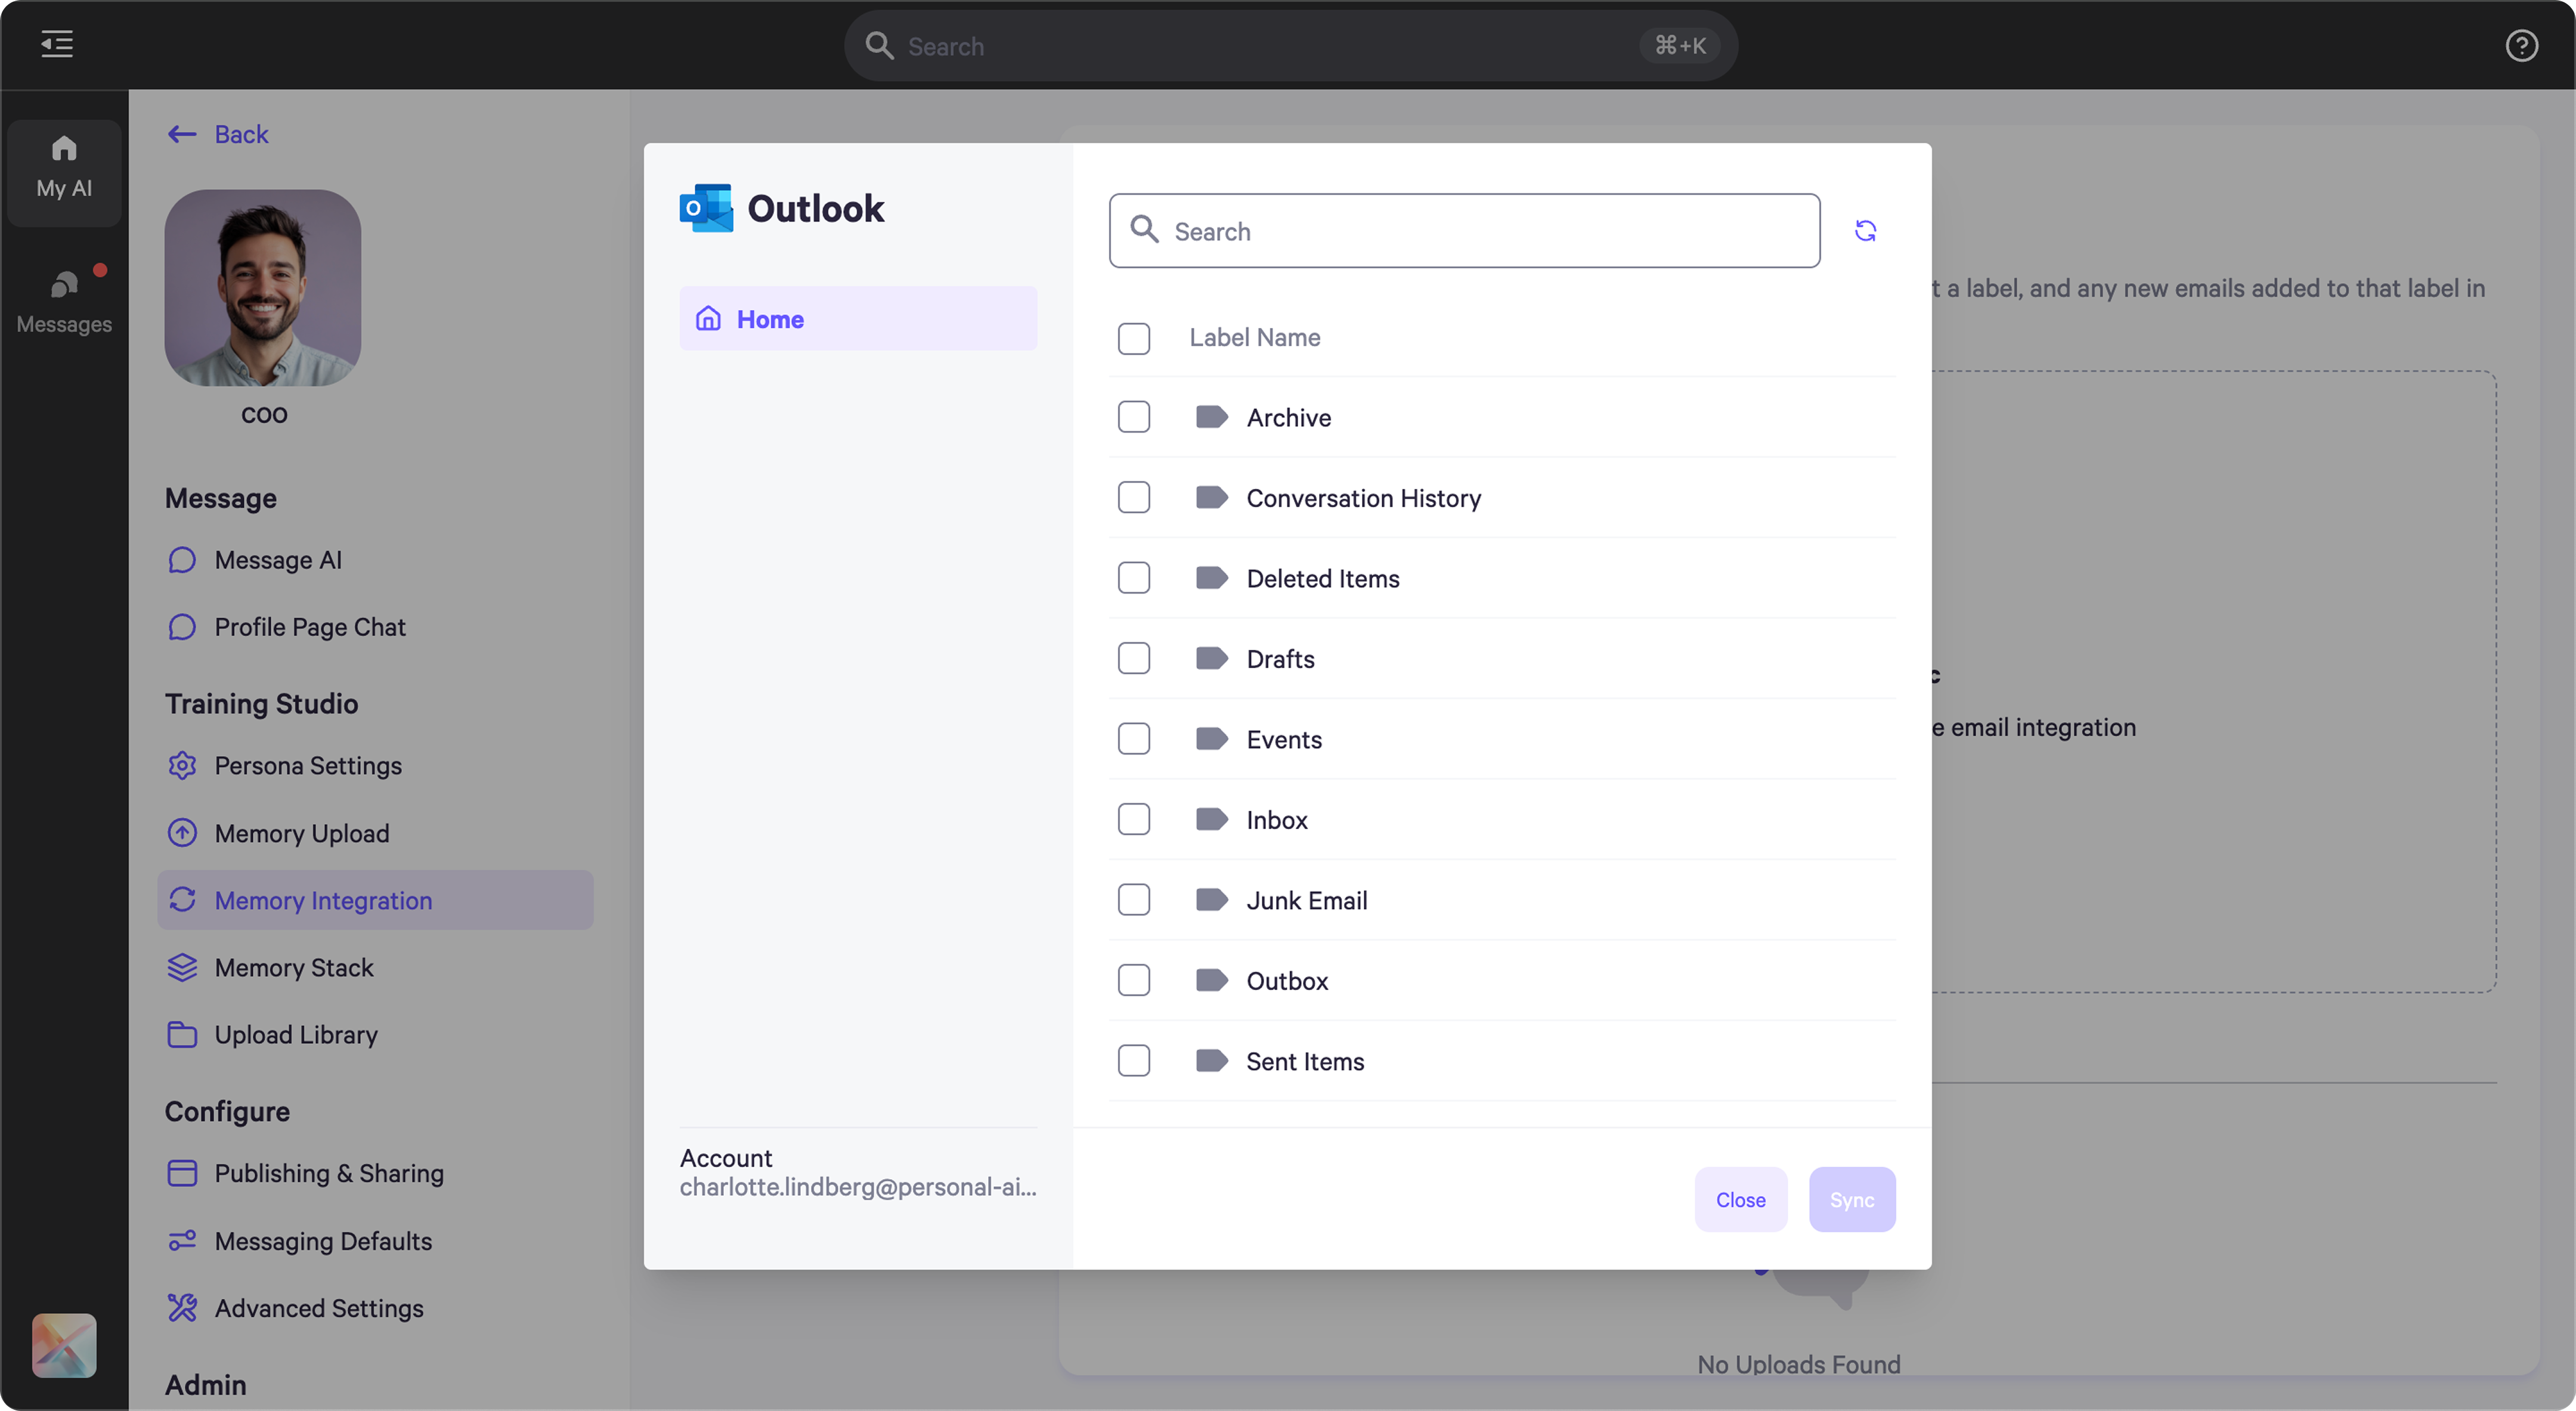
  • After clicking the “Sync from Outlook”, you’ll be presented with a popup for selecting Outlook labels
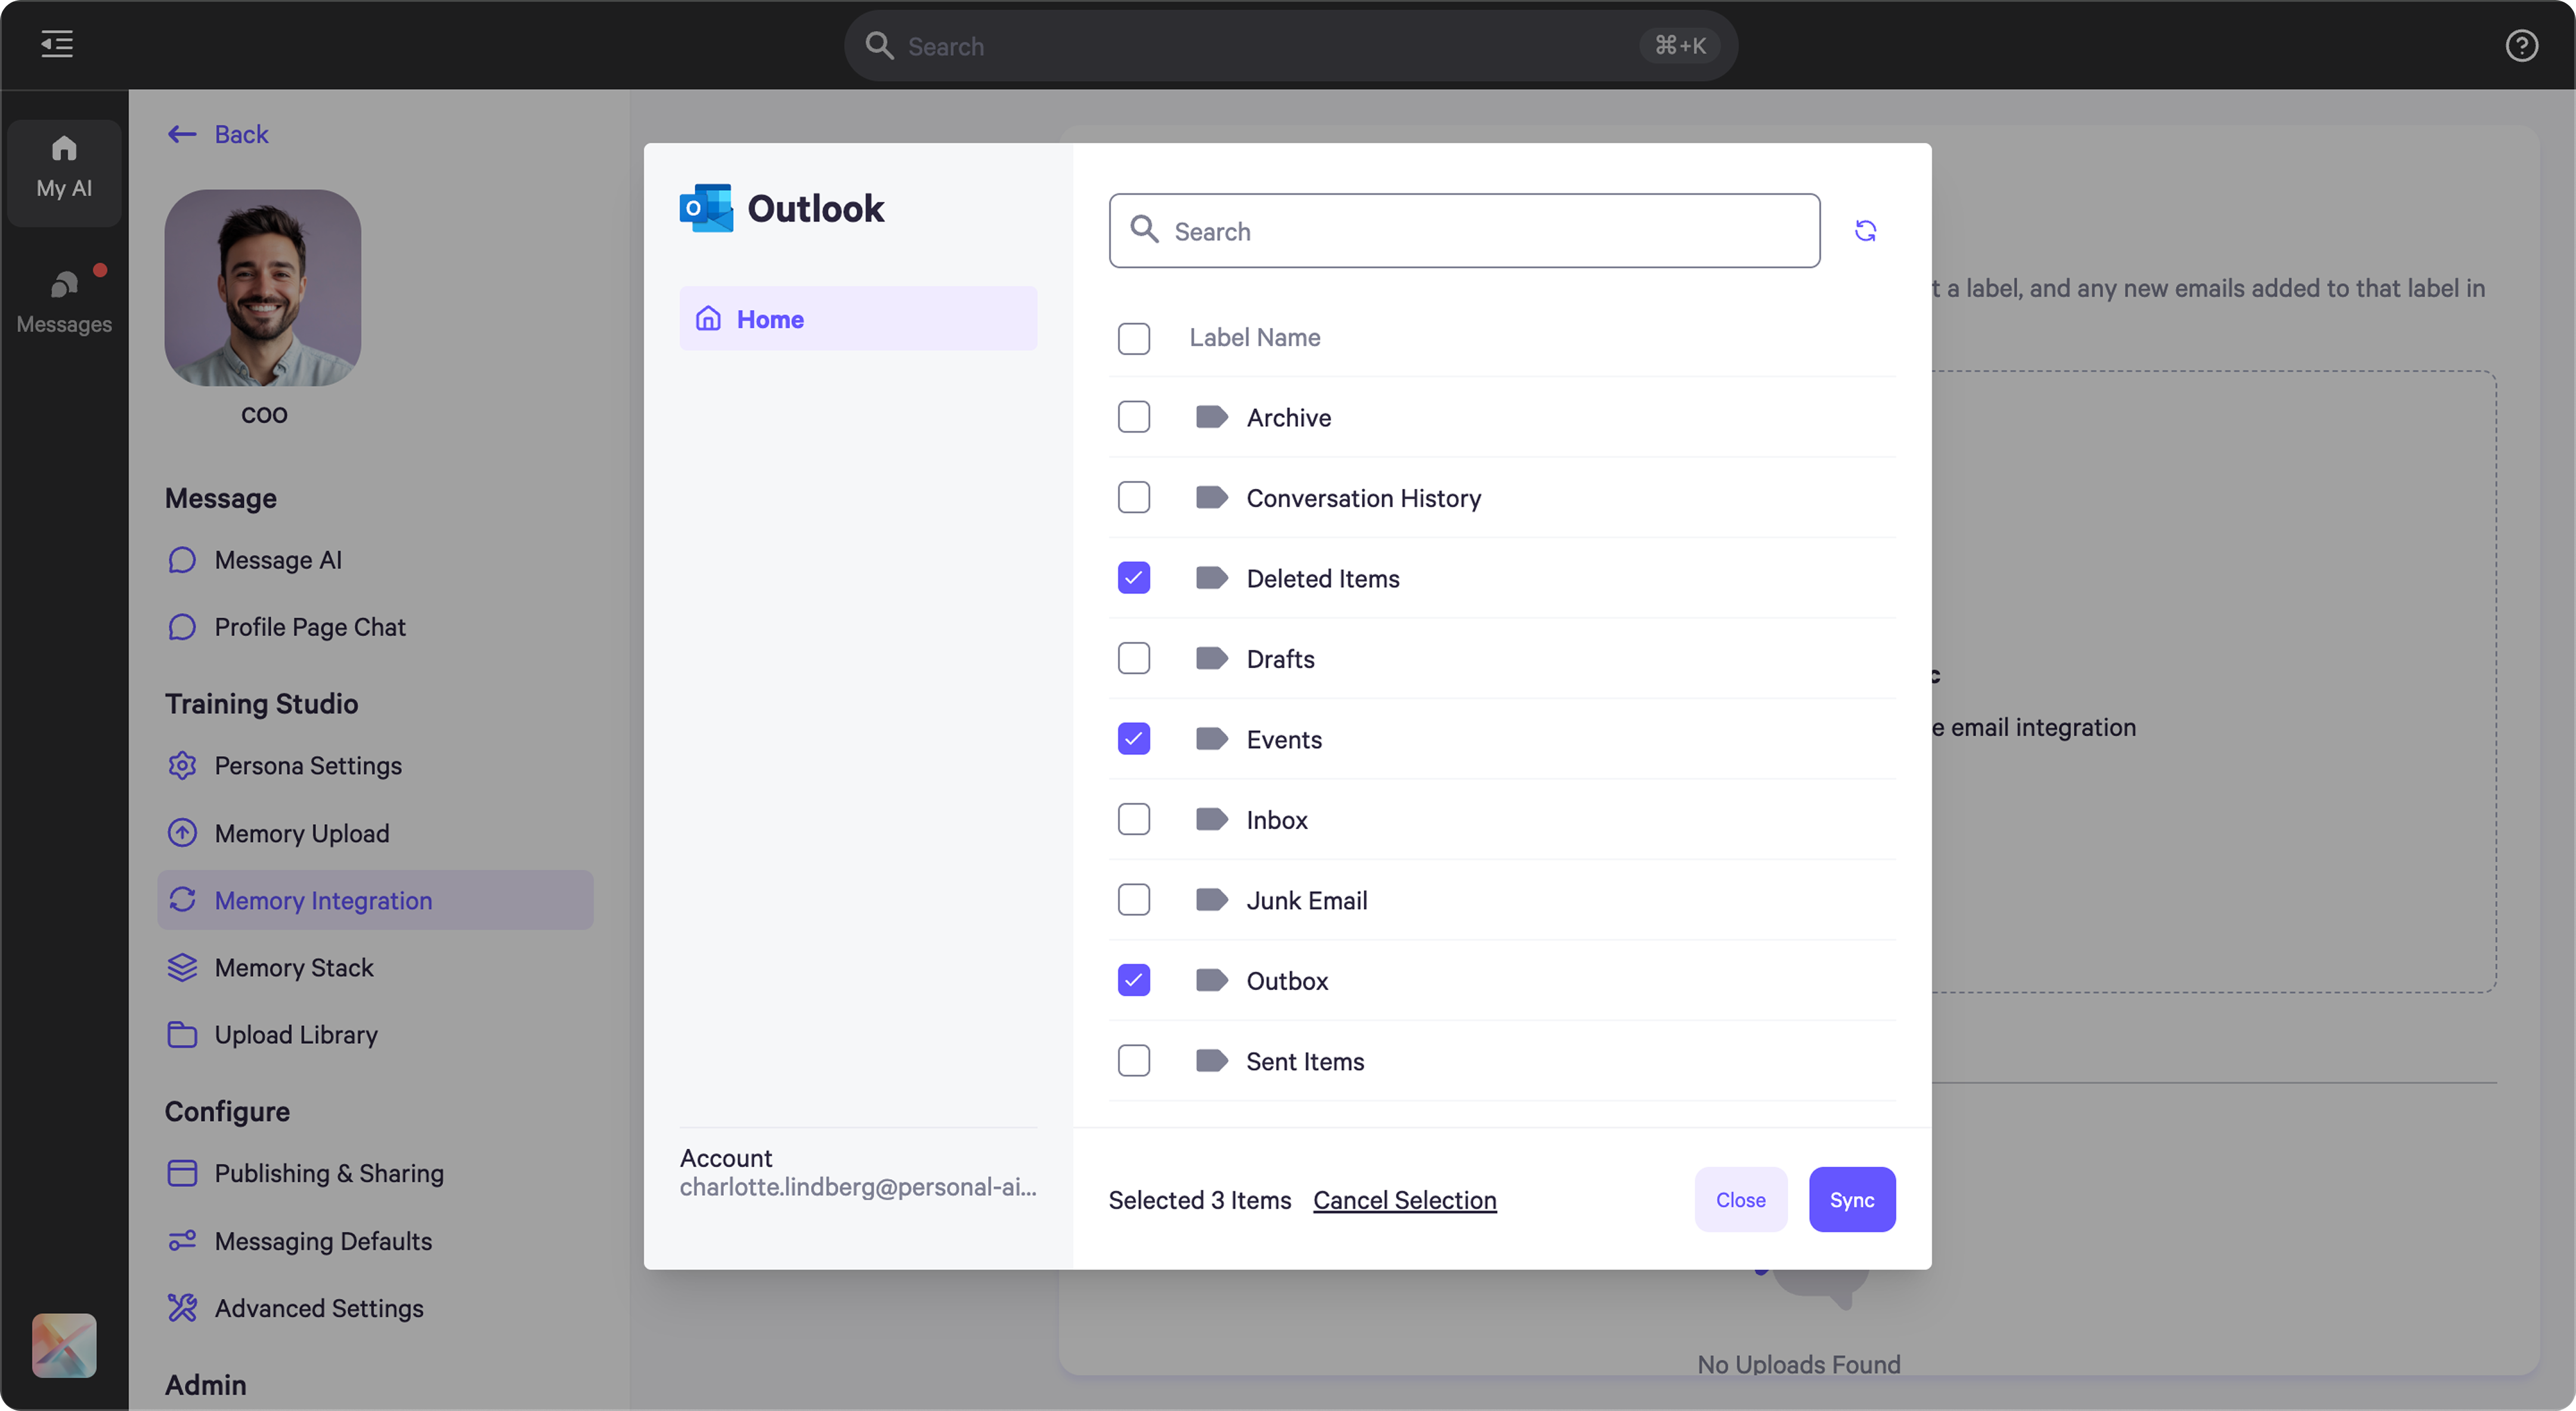
  • Choose which labels you want to sync with Personal AI
  • You can select multiple labels

  • Click “Save” or “Add” to confirm your selection

  • Personal AI will begin uploading emails from the selected labels

  • A progress bar will indicate the status of the upload

  • This process may take some time depending on the volume of emails

3. How to Manage

3.1 Check the Uploaded Label

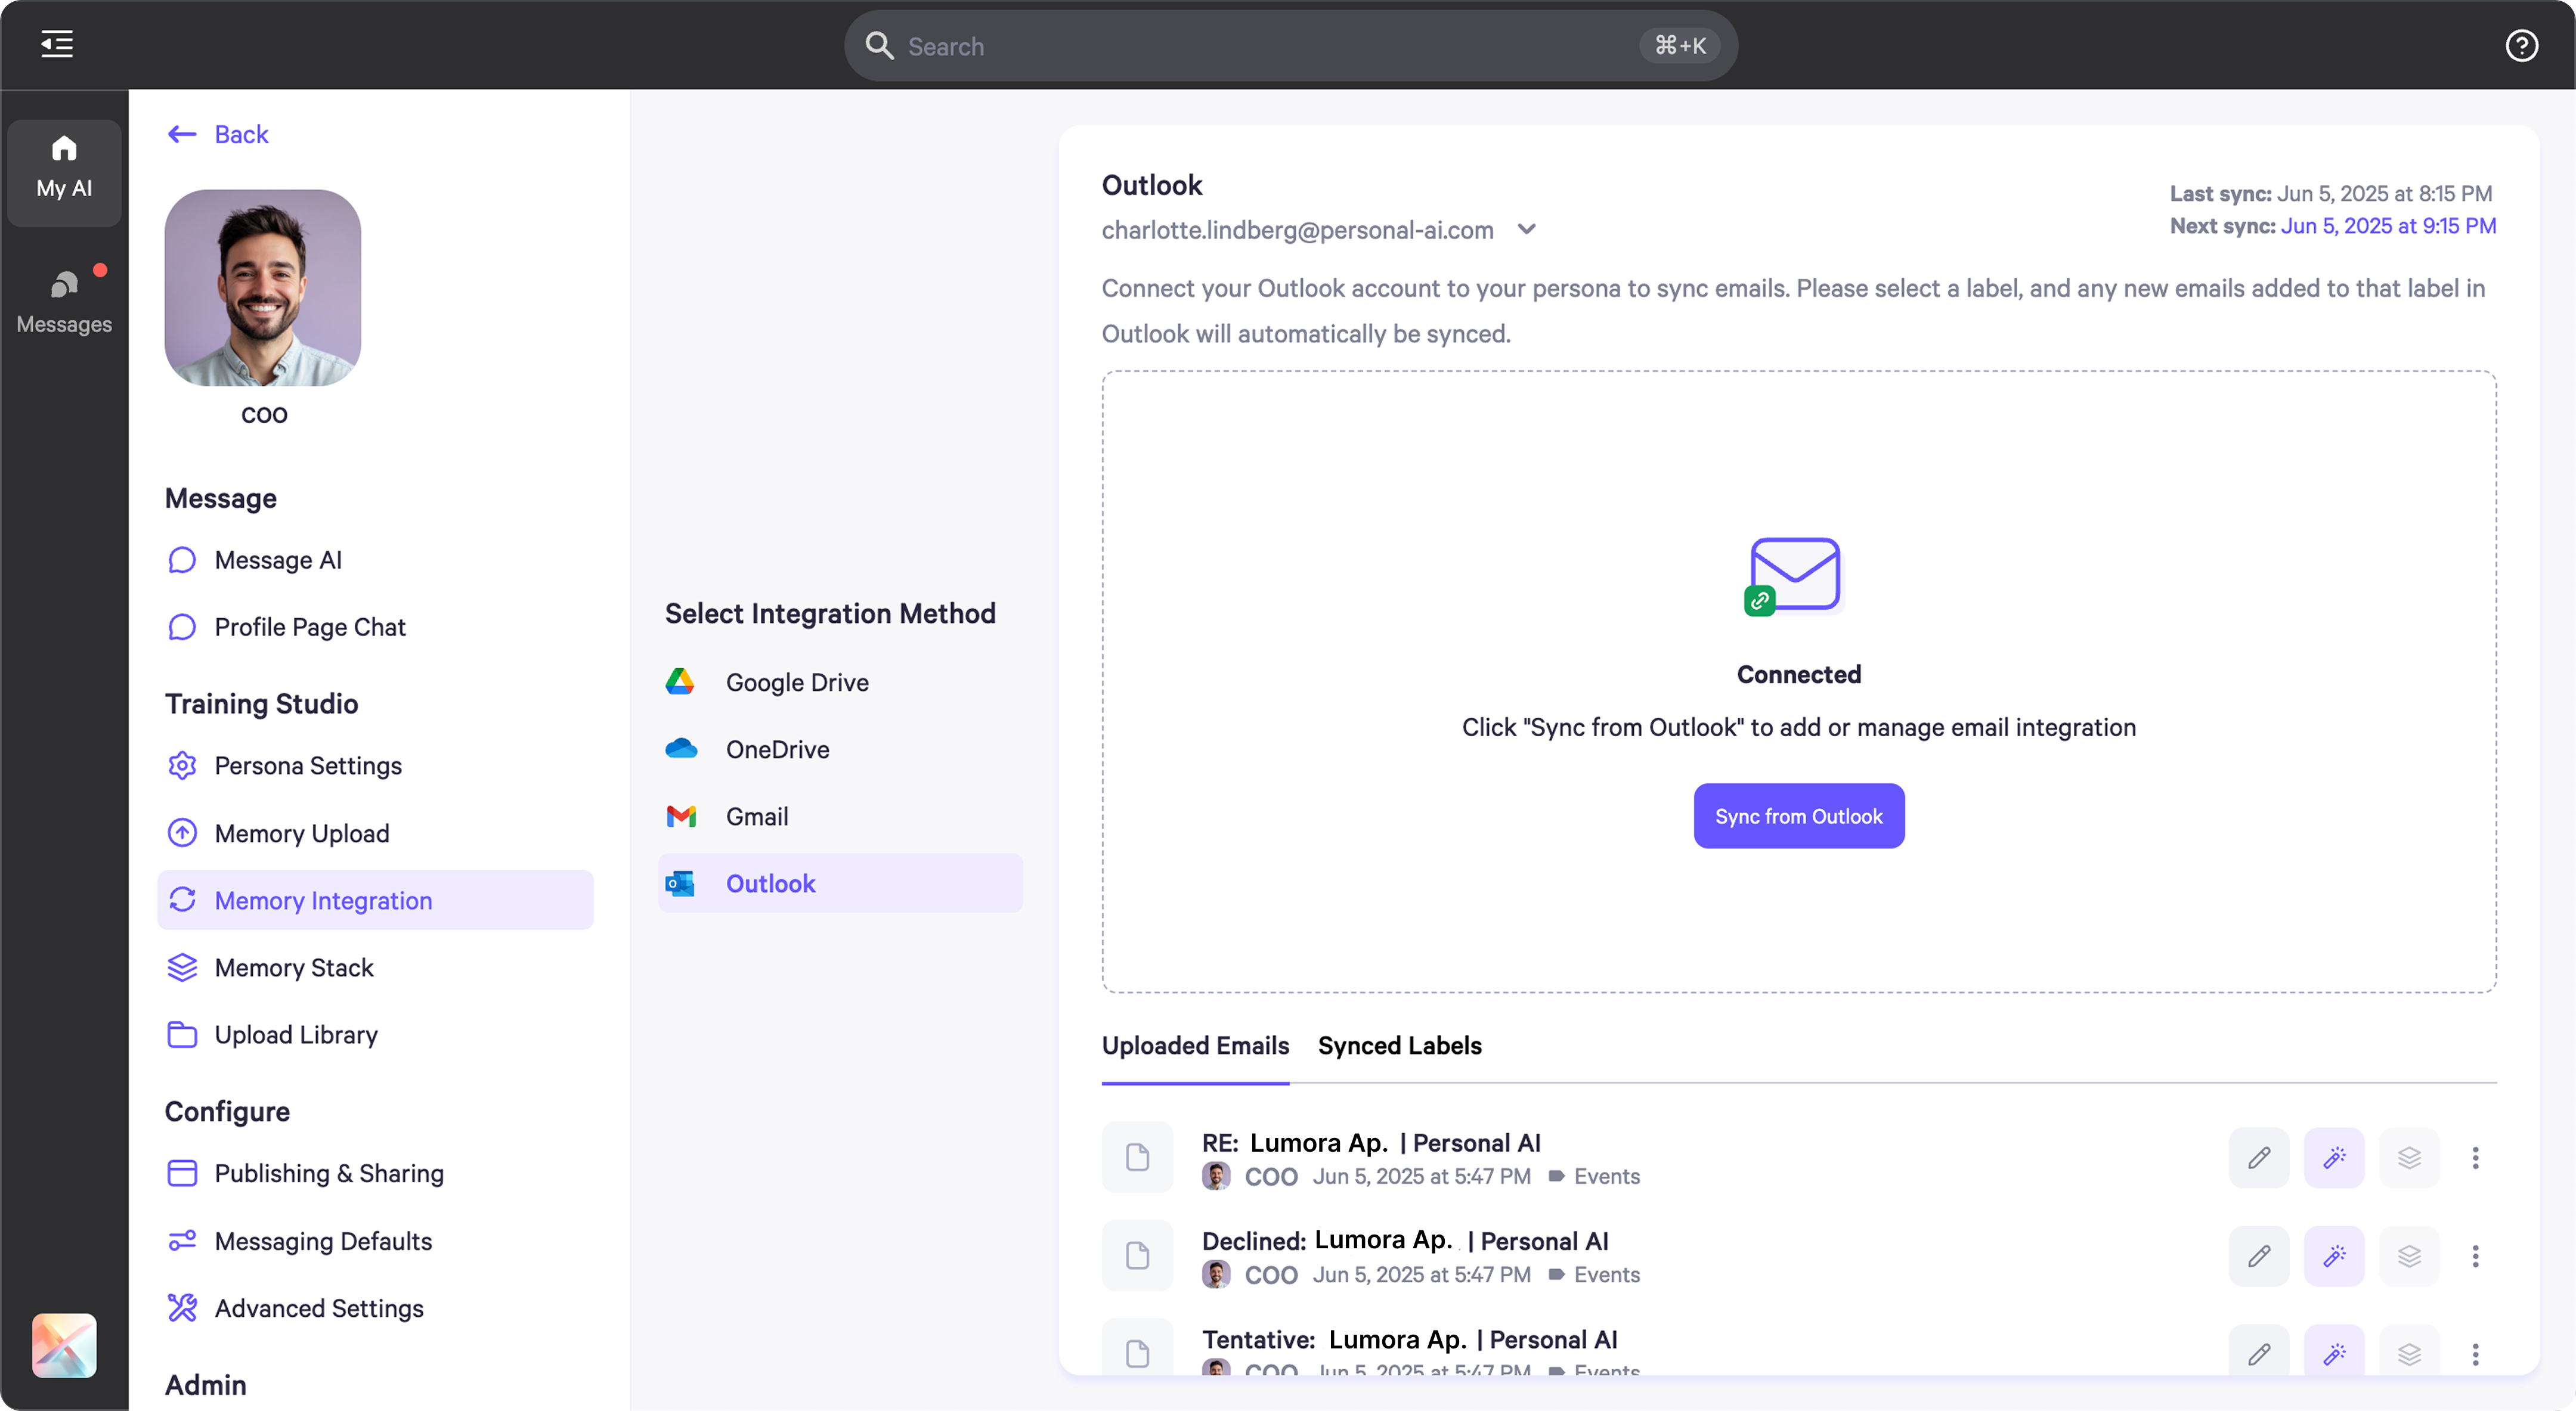
  • Navigate to the Email View in the Outlook integration⁠⁠

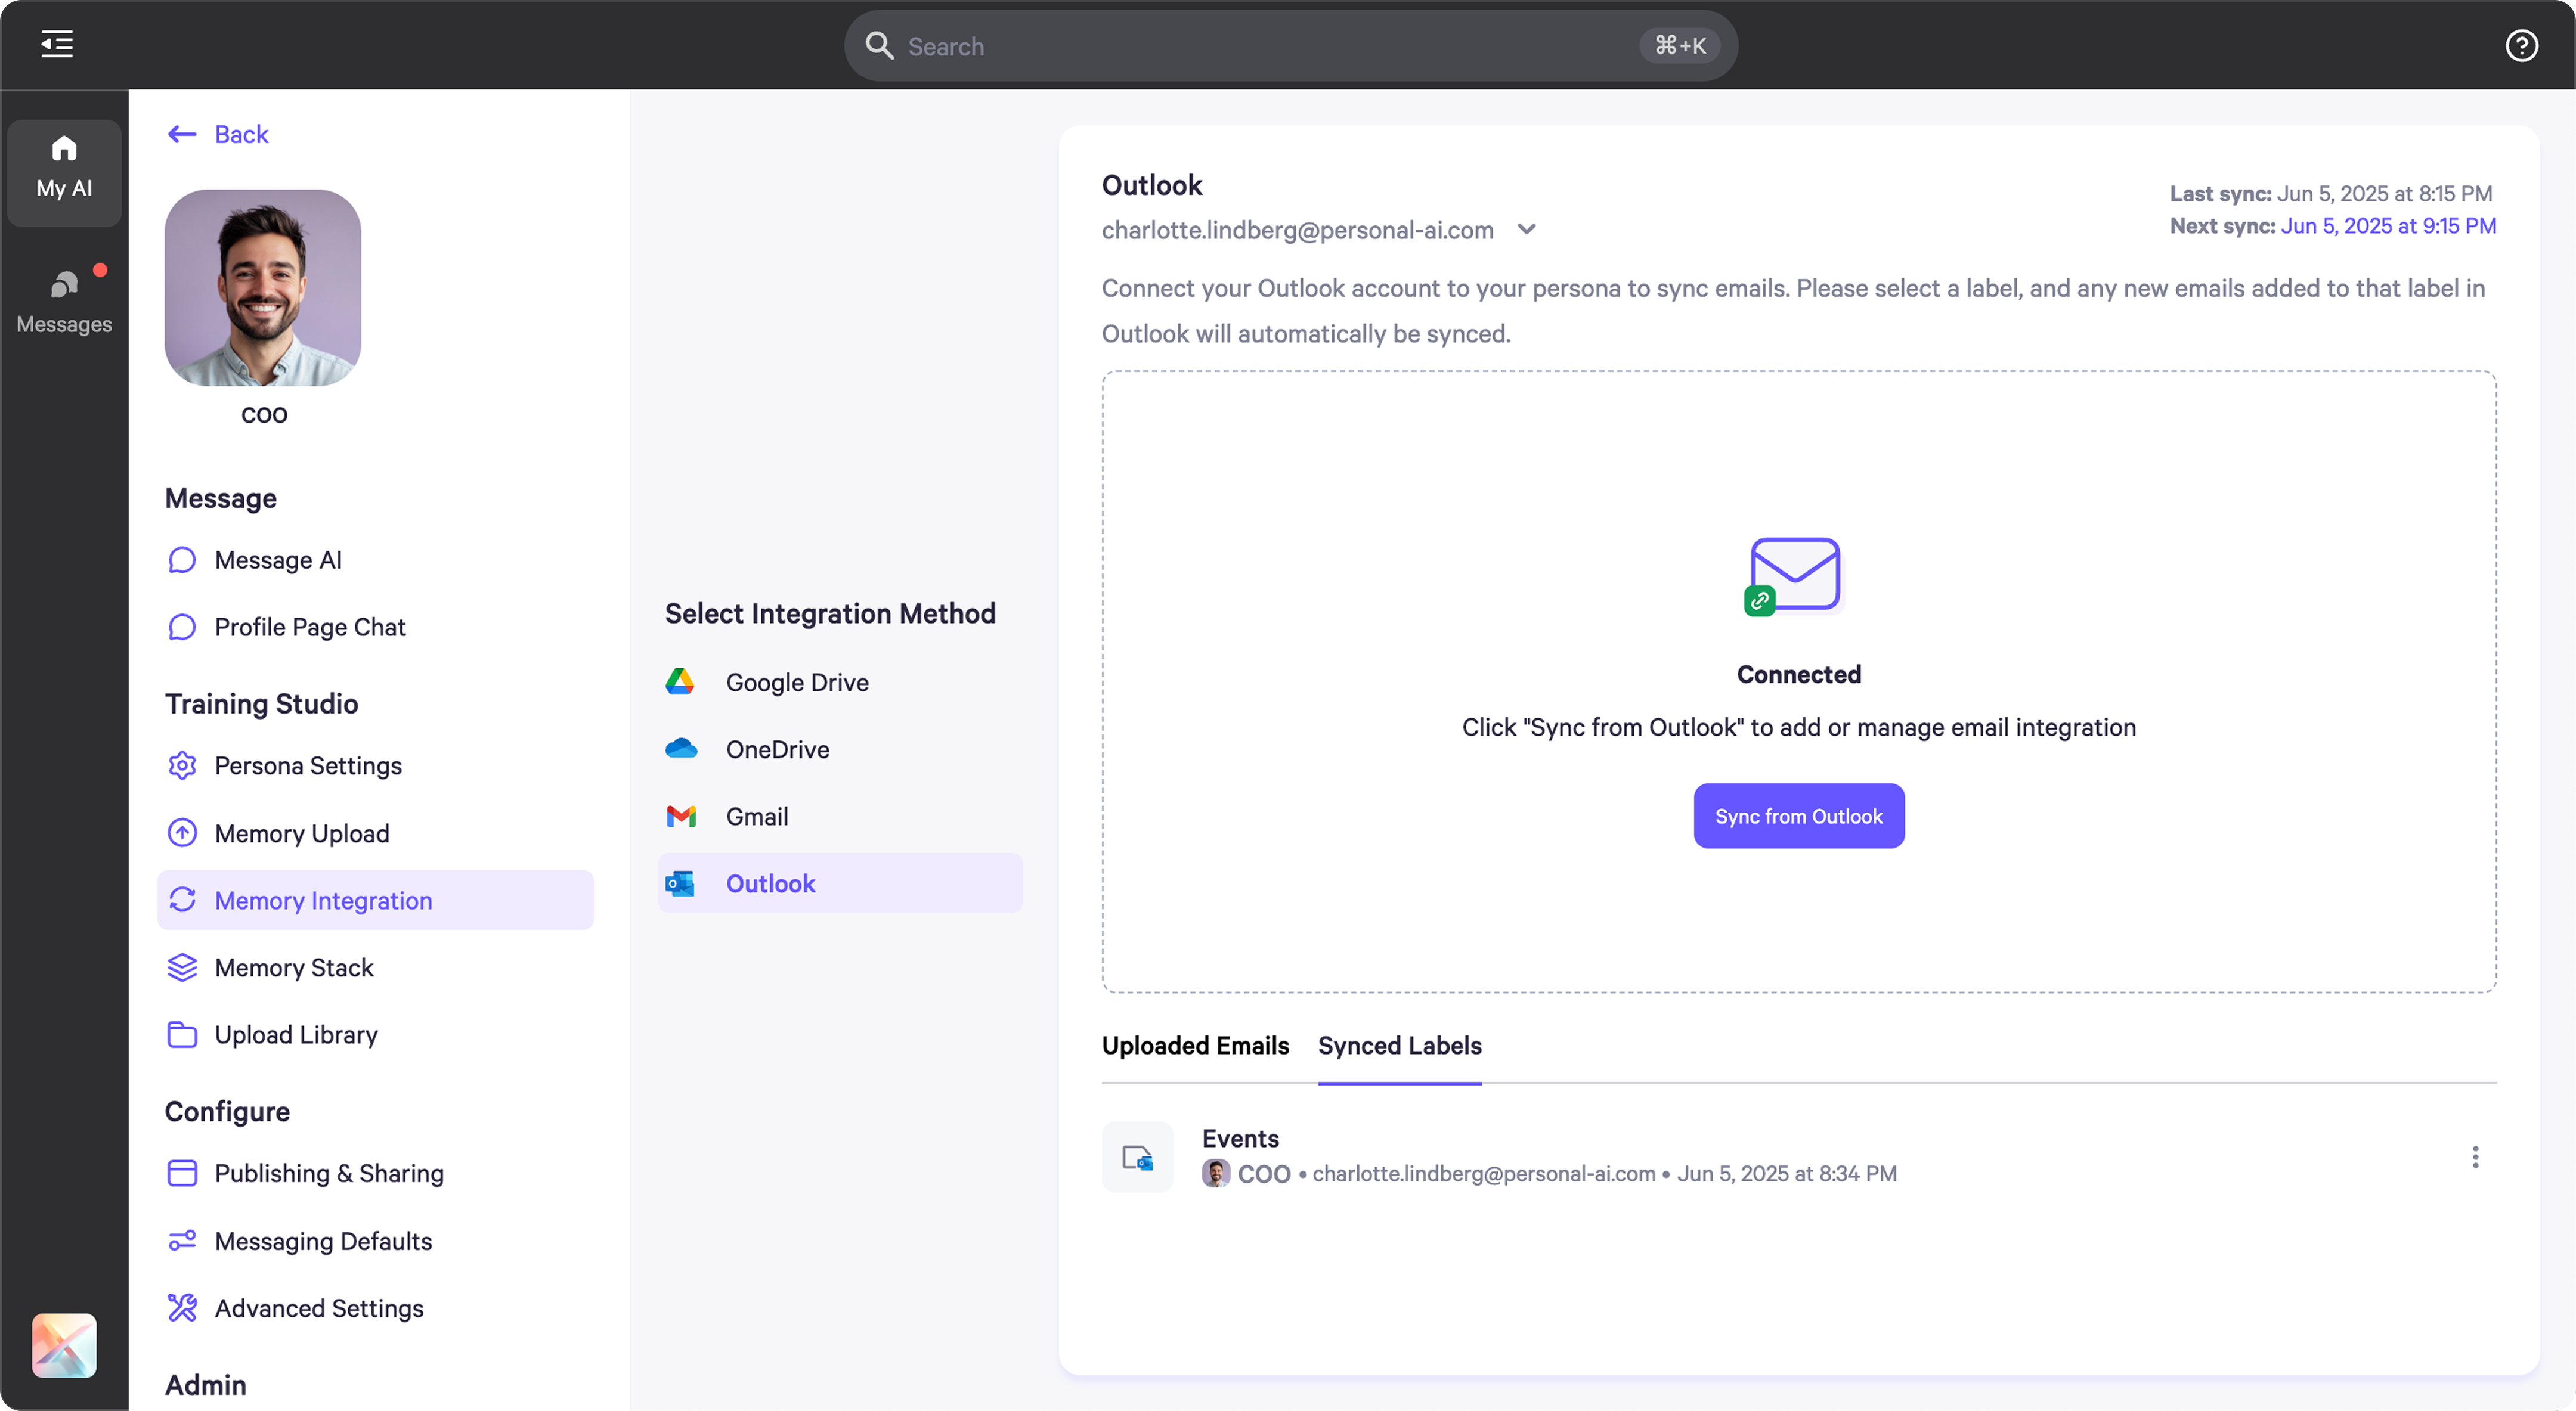
  • Click on the “Synced Labels” tab

  • Review the uploaded labels

3.2 Assign the file to other Personas

  • Navigate to the Email View in the Outlook integration⁠⁠

  • Click on the “More” button at the end of card

  • Select the “Assign to Personas” option⁠⁠

  • A drop-down menu will appear, click “personas” you want to sync

  • Support multiple select

3.3 Edit Files

  • Navigate to the Email View in the Outlook integration⁠⁠

  • Click on the Edit button or click the File card

  • The page will change to a file editor

3.4 Delete Files

  • Navigate to the Email View in the Outlook integration⁠⁠

  • Click on the “More” button to open the menu⁠⁠

  • Select the “Delete” option⁠⁠

  • A confirmation popup will appear; click “Confirm” to delete the email⁠

4. Outlook Account

4.1 Connect to Multiple Accounts

  • Click email account

  • Click “Connect to a new account” on the bottom

  • You will be redirected to sign in to your Microsoft account

  • Grant the necessary permissions for Personal AI to access your Outlook

4..2 Switch Account

  • Click the account you want to switch

  • The account will be replaced with the newly selected account

4.3 Delete Account

  • Click the garbage can icon beside the email account

  • A confirmation popup will appear; click “Delete” to delete the account

5. Sync

5.1 Manually Sync

  • Enter Synced Labels

  • Click the 3-dots button (More button) to open the menu

  • Select “Manually Sync Label”

5.2 Auto Sync

  • By default, Personal AI automatically syncs your selected Outlook label every 24 hours

6. Troubleshooting

  • If you encounter connection issues, look for a “Reconnect” button near your email account
  • If you see a warning icon near your email account, it indicates an expired background account. Click the email to open the menu and reconnect.

  • For persistent problems, you may need to disconnect and reconnect your account